OPNsense as Code with Ansible: Deploy and Version Your Entire Infrastructure in One Command
Deploy and version your entire OPNsense infrastructure with Ansible: complete VLAN/firewall/WireGuard/CrowdSec playbook, GitOps and disaster recovery in < 15 minutes.
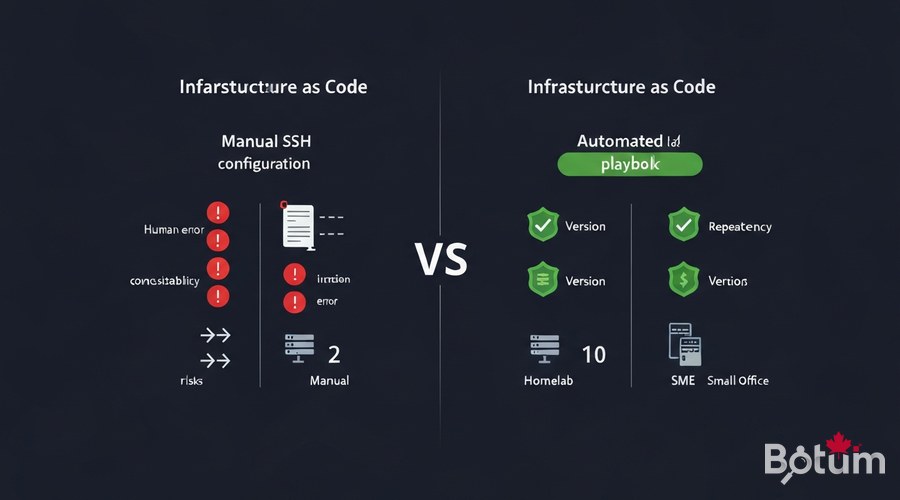
1. Why Infrastructure as Code for a Homelab/SME?
After 11 episodes building a complete network security stack, one question stands out: how do you reproduce this work exactly on a new firewall after hardware failure, migration, or expansion? The answer: Infrastructure as Code (IaC).
Without IaC, every OPNsense configuration change is a manual action — clicking through the interface, copy-pasting rules, hoping nothing gets missed. With IaC, the entire configuration is code versioned in Git, replayable with a single command. For a homelab or SME, the benefits are concrete:
- ✓ Reproducibility: new firewall fully operational in < 10 minutes
- ✓ Versioning:
git logshows every change — who, when, why - ✓ Idempotency: re-running the playbook = same state, never a regression
- ✓ Living documentation: the code IS the documentation of your network
- ✓ Disaster recovery:
git clone+ansible-playbook= infrastructure restored - ✓ Collaboration: share the config without giving firewall access
Ansible is the ideal tool for OPNsense: agentless (no daemon to install), uses SSH and the OPNsense REST API, and has a specialized collection — ansibleguy.opnsense.
2. Prerequisites: Ansible, SSH and OPNsense API
Before writing the first line of YAML, configure three things: Ansible on the control machine, SSH access to OPNsense, and API credentials.
2.1 Install Ansible
# Ubuntu / Debian
sudo apt update && sudo apt install -y ansible python3-pip
pip3 install requests

# macOS
brew install ansible

# Verify
ansible --version
# ansible [core 2.16+]
2.2 Enable SSH on OPNsense
# OPNsense: System > Settings > Administration
# ✓ Enable Secure Shell
# ✓ SSH port: 22 (or custom port)
# ✓ Permit password login: disable after adding key

# Add your public key:
# System > Access > Users > admin > Authorized keys

# Test from control machine:
ssh admin@192.168.1.1 'echo OK'
2.3 Create OPNsense API User
# OPNsense: System > Access > Users
# Create user 'ansible-api' with admin rights
# Generate key/secret pair

# Test the API:
curl -k -u "${OPNSENSE_API_KEY}:${OPNSENSE_API_SECRET}" \
  "https://192.168.1.1/api/core/firmware/status"
# {"status":"none"} → OK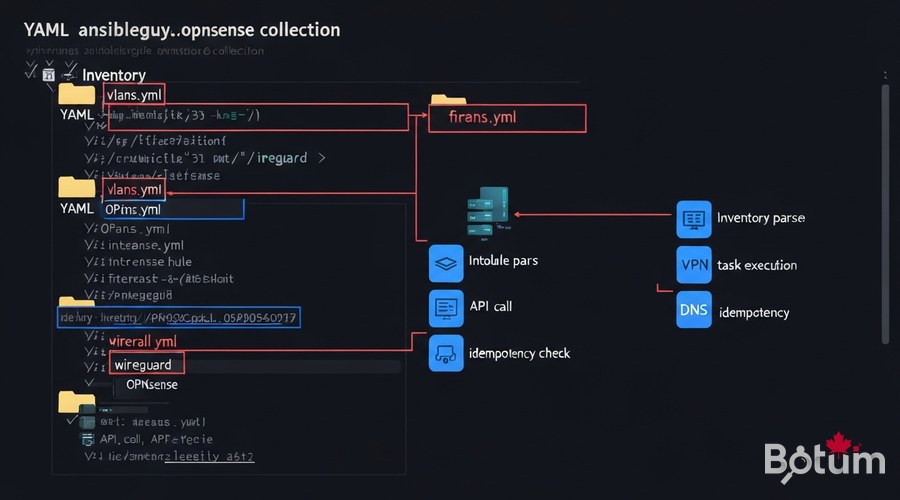
3. ansibleguy.opnsense Collection: Install and Structure
The ansibleguy.opnsense collection is the reference for automating OPNsense via Ansible. It covers interfaces, VLANs, firewall rules, WireGuard VPN, DNS, CrowdSec, and much more.
# Install the collection
ansible-galaxy collection install ansibleguy.opnsense

# Recommended project structure
opnsense-ansible/
├── inventory/
│   ├── hosts.yml          # OPNsense hosts
│   └── group_vars/
│       └── opnsense.yml   # Global vars + API credentials
├── playbooks/
│   ├── site.yml           # Main playbook (full stack)
│   ├── vlans.yml          # VLANs only
│   ├── firewall.yml       # Firewall rules
│   ├── wireguard.yml      # WireGuard VPN
│   └── crowdsec.yml       # CrowdSec bouncer
├── roles/
│   └── opnsense_base/     # Base role (NTP, DNS, SMTP)
├── ansible.cfg
└── README.md
# inventory/hosts.yml
all:
children:
opnsense:
hosts:
fw-primary:
ansible_host: 192.168.1.1
ansible_user: admin
ansible_ssh_private_key_file: ~/.ssh/id_ed25519
fw-secondary: # CARP HA (Episode 10)
ansible_host: 192.168.1.2
# inventory/group_vars/opnsense.yml
opnsense_api_host: "https://192.168.1.1"
opnsense_api_key: "{{ lookup('env', 'OPNSENSE_API_KEY') }}"
opnsense_api_secret: "{{ lookup('env', 'OPNSENSE_API_SECRET') }}"
opnsense_ssl_verify: false4. Complete Playbook: VLANs, Firewall, WireGuard, CrowdSec
Here is the main playbook that configures the entire stack in a single command.
4.1 VLANs and Interfaces
# playbooks/site.yml
---
- name: "BOTUM Stack — Full OPNsense Configuration"
  hosts: opnsense
  gather_facts: false
  collections:
    - ansibleguy.opnsense

  tasks:
    - name: "VLAN 10 — Management"
      ansibleguy.opnsense.vlan:
        vlan_id: 10
        interface: em0
        description: "Management VLAN"
        state: present

    - name: "VLAN 30 — IoT"
      ansibleguy.opnsense.vlan:
        vlan_id: 30
        interface: em0
        description: "Isolated IoT VLAN"
        state: present
4.2 Firewall Rules (Zero-Trust)
    - name: "Rule — Block IoT to LAN"
      ansibleguy.opnsense.rule:
        interface: "vlan30"
        source: "vlan30 net"
        destination: "vlan10 net"
        action: "block"
        description: "IoT cannot reach LAN/MGMT"
        log: true
        state: present

    - name: "Rule — DNS IoT to AdGuard only"
      ansibleguy.opnsense.rule:
        interface: "vlan30"
        source: "vlan30 net"
        destination: "192.168.20.5"
        destination_port: "53"
        protocol: "tcp/udp"
        action: "pass"
        state: present
4.3 WireGuard VPN and CrowdSec
    - name: "WireGuard — Main instance"
      ansibleguy.opnsense.wireguard_server:
        name: "botum-vpn"
        port: 51820
        private_key: "{{ lookup('env', 'WG_PRIVATE_KEY') }}"
        tunnel_address: "10.10.0.1/24"
        state: present

    - name: "CrowdSec — enable package"
      ansibleguy.opnsense.package:
        name: "os-crowdsec"
        state: present

    - name: "CrowdSec — configure bouncer"
      ansibleguy.opnsense.crowdsec:
        enabled: true
        bouncer_api_key: "{{ lookup('env', 'CROWDSEC_BOUNCER_KEY') }}"
        crowdsec_api_url: "http://192.168.20.10:8080"
        state: present

# Run: ansible-playbook -i inventory/hosts.yml playbooks/site.yml
# Dry-run: ansible-playbook ... --check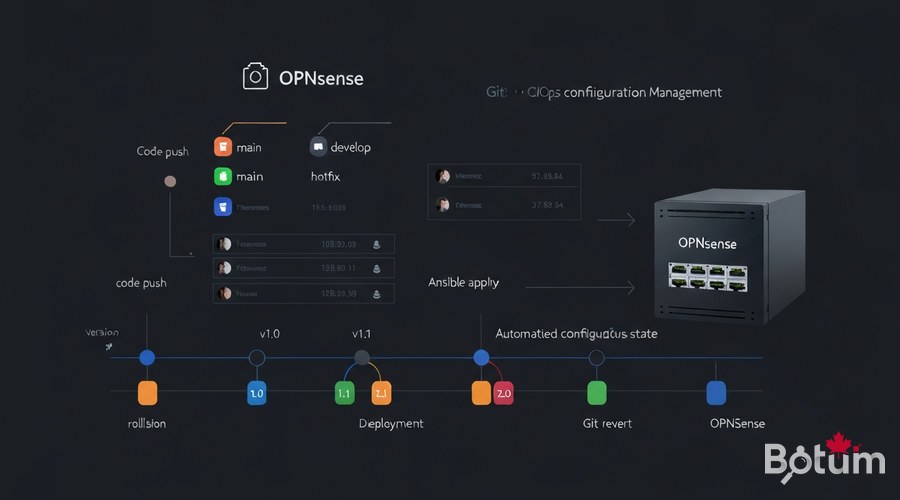
5. Versioning Config in Git (GitOps for OPNsense)
The power of IaC comes from Git versioning: every modification is tracked, reversible, and automatically documented.
# Initialize the Git repository
git init && git add . && git commit -m "feat: complete BOTUM stack (12 episodes)"

# .gitignore — never commit secrets
*.vault
.env
secrets/

# Encrypt secrets with ansible-vault
ansible-vault encrypt inventory/group_vars/vault.yml

# Daily GitOps workflow:
# 1. Modify a playbook
# 2. git commit -m "fix: stricter IoT rule"
# 3. git push origin main
# 4. CI/CD applies automatically
6. Idempotent Strategy: Re-run Without Breaking Anything
Idempotency is Ansible's fundamental property: running the same playbook 10 times always produces the same final state, without creating duplicates or breaking what works.
# Test idempotency before deploying
ansible-playbook -i inventory/hosts.yml playbooks/site.yml --check
# → "changed=0 unreachable=0 failed=0" = already at desired state

# Diff mode: see exactly what would change
ansible-playbook -i inventory/hosts.yml playbooks/site.yml --check --diff

# Targeted runs with tags
ansible-playbook site.yml --tags "vlans"
ansible-playbook site.yml --tags "firewall"
ansible-playbook site.yml --skip-tags "crowdsec"
7. CI/CD Integration: GitHub Actions and Gitea
Automate deployment on every commit. When you push a change to the main branch, the pipeline validates and automatically deploys.
# .github/workflows/deploy-opnsense.yml
name: Deploy OPNsense Stack

on:
  push:
    branches: [main]

jobs:
  lint:
    runs-on: ubuntu-latest
    steps:
      - uses: actions/checkout@v4
      - run: pip install ansible-lint
      - run: ansible-lint playbooks/site.yml

  deploy:
    needs: lint
    runs-on: ubuntu-latest
    steps:
      - uses: actions/checkout@v4
      - name: Install Ansible
        run: |
          pip install ansible
          ansible-galaxy collection install ansibleguy.opnsense
      - name: Deploy
        env:
          OPNSENSE_API_KEY: ${{ secrets.OPNSENSE_API_KEY }}
          OPNSENSE_API_SECRET: ${{ secrets.OPNSENSE_API_SECRET }}
        run: ansible-playbook -i inventory/hosts.yml playbooks/site.yml
8. Disaster Recovery: Restore in One Command
The most feared scenario: the firewall dies. With the IaC stack, disaster recovery becomes a routine exercise.
# SCENARIO: Primary OPNsense offline
# Target restore time: < 15 minutes

# Step 1: Provision new OPNsense (~5 min)
# Step 2: Clone Ansible config
git clone https://gitea.botum.ca/botum/opnsense-ansible.git

# Step 3: Deploy full stack (~8 min)
OPNSENSE_API_KEY=xxx OPNSENSE_API_SECRET=yyy \
  ansible-playbook -i inventory/hosts.yml playbooks/site.yml

# ✓ VLANs, Firewall, WireGuard, CrowdSec, Suricata restored

# Step 4: Verify
ansible-playbook -i inventory/hosts.yml playbooks/site.yml --check
# changed=0 → Stack 100% compliant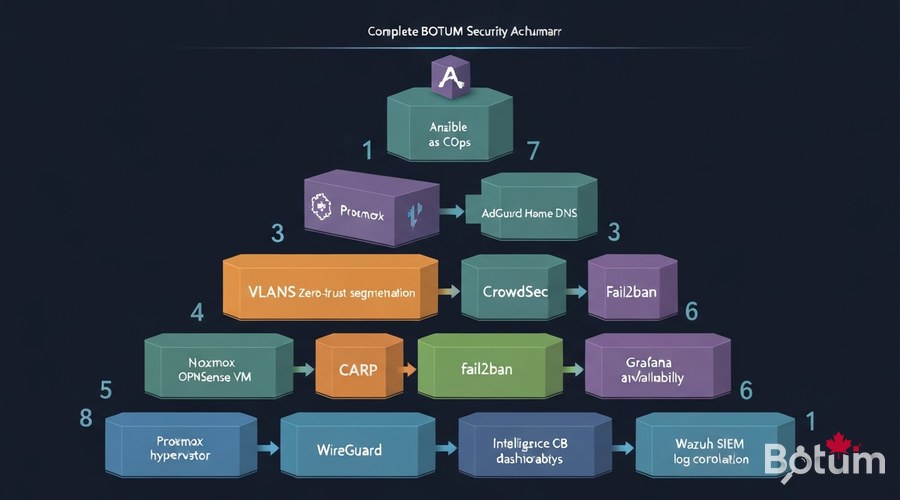
9. Conclusion: Full 12-Episode Stack Recap
With Episode 12, the BOTUM OPNsense Stack is complete. Across 12 episodes, we built an enterprise-grade network security infrastructure — reproducible, versioned, and fully automated:
- • Episode 1 — OPNsense on Proxmox: hypervisor foundation
- • Episode 2 — VLANs Zero-Trust: network segmentation
- • Episode 3 — CrowdSec Collaborative IPS: community blocking
- • Episode 4 — WireGuard VPN: secure remote access
- • Episode 5 — fail2ban Hardening: brute-force protection
- • Episode 6 — NAC: network access control
- • Episode 7 — Suricata IDS/IPS: deep packet inspection
- • Episode 8 — AdGuard Home + DoH/DoT: filtered encrypted DNS
- • Episode 9 — Grafana + InfluxDB: network monitoring
- • Episode 10 — CARP High Availability: infrastructure resilience
- • Episode 11 — Wazuh SIEM: log correlation and detection
- • Episode 12 — Ansible as Code: automation and GitOps
The stack is now fully reproducible: a new team member can deploy the entire infrastructure in under 30 minutes, from scratch, using Ansible.
Coming next (Articles 13-15): Automated OPNsense config backup, Let's Encrypt certificates with ACME, and traffic analysis with Netflow + ntopng — to complete the stack.
Téléchargez ce guide en PDF pour le consulter hors ligne.
⬇ Télécharger le guide (PDF)🚀 Aller plus loin avec BOTUM
Ce guide couvre les bases. En production, chaque environnement a ses spécificités. Les équipes BOTUM accompagnent les organisations dans le déploiement, la configuration avancée et la sécurisation de leur infrastructure. Si vous avez un projet, parlons-en.
Discuter de votre projet →