VLANs and Zero Trust: Segment Your Network Like an Enterprise
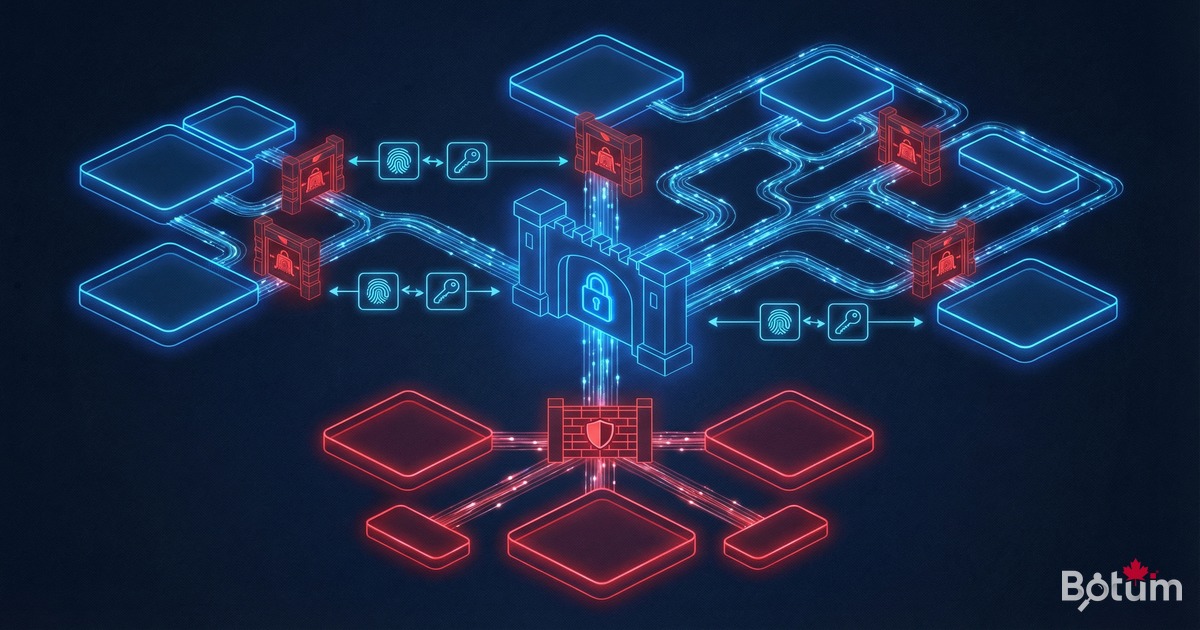
VLANs and Zero Trust guide: 5-VLAN architecture, 802.1Q switch, OPNsense and inter-VLAN firewall rules.
'Is your network flat?' — that's often the first question I ask during a network audit. And in 80% of SME cases, the answer is yes: everyone on the same subnet, printers alongside production servers, IP phones sharing the same broadcast domain as workstations. It's a ticking time bomb. This guide shows you how to implement professional VLAN segmentation with a Zero Trust approach.
Why Segment Your Network?
A flat network is paradise for an attacker. If a workstation is compromised (phishing, ransomware), the attacker has direct access to all servers, printers, and IoT devices on the same network. With VLAN segmentation, compromising one device doesn't grant access to other segments without going through the firewall.
- Containment: a ransomware infection stays confined to its VLAN
- Performance: reduced broadcast domain, less parasitic traffic
- Compliance: PCI-DSS, ISO 27001, HIPAA require network segmentation
- Visibility: inter-VLAN traffic visible and logged at the firewall level
- Least privilege: each device accesses only what it needs

Recommended SME VLAN Architecture
- VLAN 10 — Management: switches, routers, Wi-Fi access points. Restricted to admins
- VLAN 20 — Production Servers: critical servers, databases, NAS
- VLAN 30 — Workstations: employee PCs and Macs
- VLAN 40 — DMZ: Internet-facing servers (web, mail, public VPN)
- VLAN 50 — IoT: cameras, printers, IP phones, connected thermostats
- VLAN 60 — Guests: visitor Wi-Fi, Internet access only
- VLAN 70 — Voice/VoIP: IP telephony (QoS priority)
Configuring VLANs on OPNsense
Step 1 — Create VLANs
# OPNsense Web Interface
# Interfaces → Other Types → VLANs → Add

# VLAN 10 Management
# Parent Interface: em0 (internal physical interface)
# VLAN Tag: 10
# Description: Management

# Assign VLAN interfaces
# Interfaces → Assignments
# vlan0.10 → OPT1 (Management)
# vlan0.20 → OPT2 (Production)
# etc.
Step 2 — Configure VLAN Interfaces
# For each VLAN interface in Interfaces → [VLAN_NAME]:
# Enable interface: ✓
# IPv4 Configuration Type: Static IPv4

# VLAN 10 Management  : 10.10.10.1/24
# VLAN 20 Production  : 10.10.20.1/24
# VLAN 30 Workstations: 10.10.30.1/24
# VLAN 40 DMZ         : 10.10.40.1/24
# VLAN 50 IoT         : 10.10.50.1/24
# VLAN 60 Guests      : 10.10.60.1/24

# Configure DHCP for each VLAN
# Services → DHCPv4 → [INTERFACE]
# Range: x.x.x.100 - x.x.x.200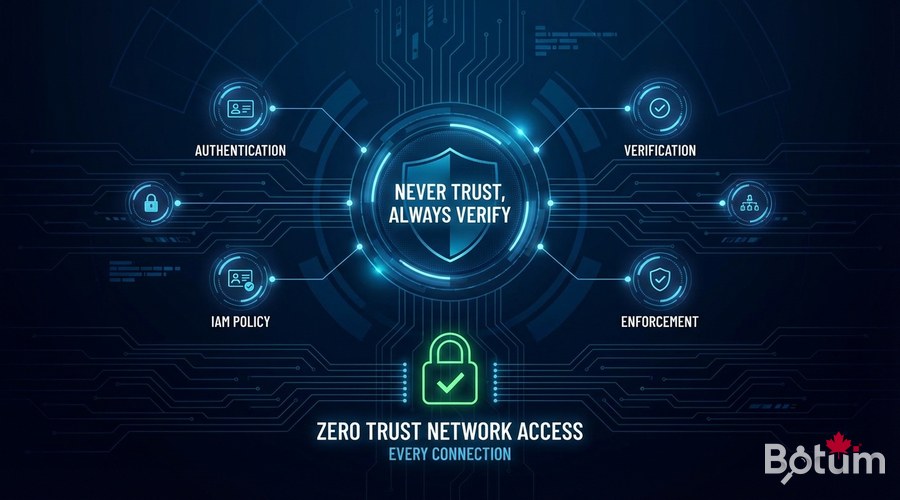
Inter-VLAN Filtering Rules (Zero Trust)
# OPNsense rules — Zero Trust principle
# Default policy: everything blocked unless explicitly allowed

# ─── Guest VLAN (VLAN 60) — Internet only ────────────────
# Allow: VLAN60 → WAN (Internet) ports 80,443
# Block: everything else

# ─── IoT VLAN (VLAN 50) — Total isolation ────────────────
# Allow: VLAN50 → Internet (firmware updates)
# Allow: VLAN30 (workstations) → VLAN50 (IoT management)
# Block: VLAN50 → all other VLANs (no server access from IoT)

# ─── Workstations (VLAN 30) → Production (VLAN 20) ───────
# Allow: VLAN30 → VLAN20 port 443 (HTTPS API)
# Allow: VLAN30 → VLAN20 port 3306 (MySQL) from dev IPs only
# Block: everything else

# ─── Management VLAN (VLAN 10) — Admins only ─────────────
# Allow: VLAN10 → everything (network admins)
# Block: everything → VLAN10
Switch Configuration (802.1Q VLAN Tagging)
# Cisco IOS Example
switch# configure terminal

# Create VLANs
switch(config)# vlan 10
switch(config-vlan)# name Management
switch(config)# vlan 20
switch(config-vlan)# name Production
switch(config)# vlan 50
switch(config-vlan)# name IoT

# Trunk port to OPNsense (carries all VLANs)
switch(config)# interface GigabitEthernet0/1
switch(config-if)# switchport mode trunk
switch(config-if)# switchport trunk allowed vlan 10,20,30,40,50,60,70

# Access port for a workstation (VLAN 30 only)
switch(config)# interface GigabitEthernet0/5
switch(config-if)# switchport mode access
switch(config-if)# switchport access vlan 30

# Access port for IoT camera (VLAN 50)
switch(config)# interface GigabitEthernet0/10
switch(config-if)# switchport mode access
switch(config-if)# switchport access vlan 50

switch(config)# end
switch# write memory
Multi-SSID Wi-Fi with VLANs
# Ubiquiti / UniFi configuration
# Settings → WiFi → Add New WiFi Network

# SSID "Corporate" → VLAN 30 (Workstations)
# Security: WPA3-Enterprise (802.1X + FreeRADIUS)

# SSID "Guests" → VLAN 60
# Security: WPA3-Personal
# Client isolation: enabled
# Bandwidth limit: 10 Mbps down / 5 Mbps up

# SSID "IoT-Devices" → VLAN 50
# Security: WPA2-Personal (legacy device compatibility)
# Hide SSID: optional
Zero Trust with Strong Authentication
# FreeRADIUS for 802.1X authentication
sudo apt install -y freeradius freeradius-utils

# EAP-TLS (certificate-based) — the gold standard:
# 1. Generate a private CA
# 2. Issue individual certificates per machine/user
# 3. Configure EAP-TLS in FreeRADIUS
# 4. Deploy certificates via GPO (Windows) or MDM (JAMF, Intune)
Monitoring and Auditing
# Enable rule logging in OPNsense
# Firewall → Rules → [rule] → Log packets matched
# Firewall → Log Files → Live View

# Elastic Stack for centralized firewall logs
# OPNsense → System → Settings → Logging → Remote syslog
# Elastic/Logstash IP: your-ip:5514

# Alert on blocked inter-VLAN attempts:
# In Kibana: create alert rule
# Condition: firewall.action: "block" AND src_vlan != dst_vlan
# Action: email/Slack/PagerDuty
Next Steps
- Implement NAC (Network Access Control) with FreeRADIUS + 802.1X for certificate-based authentication
- Configure Suricata on OPNsense for inter-VLAN traffic inspection
- Deploy a SIEM (Graylog, Elastic) for multi-segment log correlation
- Deploy a honeypot on an isolated VLAN to detect internal scans
- Document and test your segmentation policy annually (internal attack simulation)
Download this guide as a PDF to read offline.
⬇ Download the guide (PDF)🚀 Go Further with BOTUM
This guide covers the essentials. In production, every environment has its own specifics. BOTUM teams accompany organizations through deployment, advanced configuration, and infrastructure hardening. If you have a project, let's talk.
Discuss your project →