Vaultwarden: Self-Host Your Password Manager with Docker
Deploy Vaultwarden — the self-hosted password manager compatible with Bitwarden. 100% control of your data, compatible with all official Bitwarden clients.
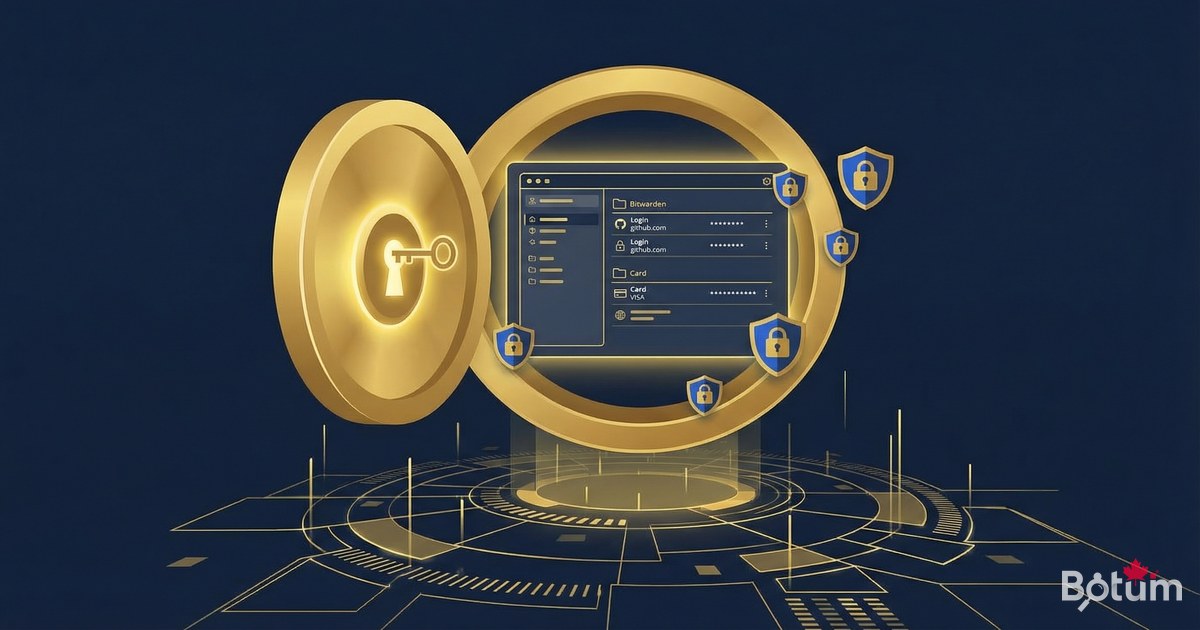
LastPass, 1Password, Dashlane... These cloud services store your passwords on their servers. Vaultwarden lets you do the same, but on your own infrastructure — you have complete control over your data. Compatible with all official Bitwarden clients, it installs in 5 minutes via Docker.
Vaultwarden vs Bitwarden — What's the Difference?
Bitwarden is the most popular open-source password manager. The official Bitwarden server requires significant resources (4+ GB RAM). Vaultwarden is an unofficial Bitwarden server rewritten in Rust — it's 10x lighter and compatible with all official Bitwarden clients (browser extension, iOS/Android apps, desktop clients).
- 100% compatible with official Bitwarden clients
- Uses only ~50 MB RAM (vs 4+ GB for official Bitwarden)
- Written in Rust — fast, reliable, secure
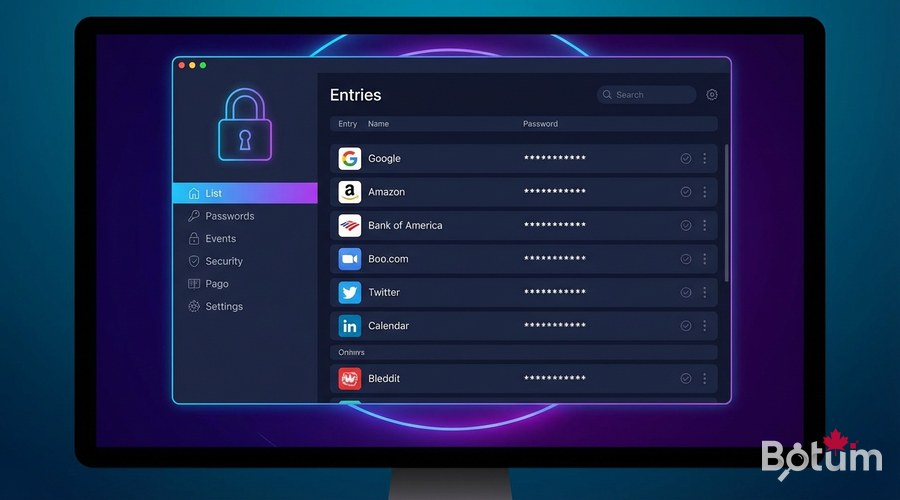
- All features: passwords, notes, cards, identities
- 2FA authentication (TOTP, Yubikey, email)
- Vault sharing between users
- Organizations and folders
- Browser extension, mobile apps, desktop clients
Prerequisites
To deploy Vaultwarden in secure production:
- Docker and Docker Compose installed
- An HTTPS subdomain configured via Zoraxy (e.g., vault.yourdomain.com)
- HTTPS mandatory — Vaultwarden refuses HTTP connections in production
- Minimal disk space: 100 MB is enough for thousands of entries
Deploy Vaultwarden with Docker
mkdir -p ~/docker/vaultwarden && cd ~/docker/vaultwarden

cat > docker-compose.yml << 'EOF'
version: '3.8'

services:
  vaultwarden:
    image: vaultwarden/server:latest
    container_name: vaultwarden
    restart: unless-stopped
    ports:
      - "8888:80"    # Generic port — Zoraxy will redirect to this port
    volumes:
      - ./data:/data
    environment:
      # Public HTTPS URL of your instance
      DOMAIN: https://vault.yourdomain.com
      # Admin token to access the /admin panel
      # Generate with: openssl rand -base64 48
      ADMIN_TOKEN: REPLACE_WITH_SECURE_TOKEN
      # Disable public registration (recommended)
      SIGNUPS_ALLOWED: "false"
      # Allow email invitations
      INVITATIONS_ALLOWED: "true"
      # Email sending (optional but recommended)
      SMTP_HOST: smtp.example.com
      SMTP_PORT: "587"
      SMTP_FROM: vaultwarden@yourdomain.com
EOF

# Start Vaultwarden
docker compose up -d
docker logs -f vaultwarden
Generate a Secure Admin Token
# Generate a secure admin token (on your server):
openssl rand -base64 48
# Example output: k9X2mP...longString...==
# Copy this token into ADMIN_TOKEN in docker-compose.yml

# Python alternative:
python3 -c "import secrets; print(secrets.token_urlsafe(36))"

# Restart Vaultwarden after modification:
docker compose down && docker compose up -d
Zoraxy Configuration for Vaultwarden
In the Zoraxy interface, create a proxy rule for Vaultwarden:
- Matching Hostname: vault.yourdomain.com
- Target: http://localhost:8888 (or server-IP:8888)
- Enable WebSocket support (for real-time sync)
- Get Let's Encrypt SSL certificate for this domain
# Verify Vaultwarden is accessible:
curl -I https://vault.yourdomain.com
# Should return HTTP 200

# Access admin panel:
# https://vault.yourdomain.com/admin
# Enter your ADMIN_TOKEN
Create Your First User Account
Since SIGNUPS_ALLOWED=false, only the admin can create accounts. Two methods:
- Via /admin: Users > Invite User (sends invitation email)
- Temporarily enable SIGNUPS_ALLOWED=true, create account, then set back to false
# Via admin panel (/admin):
# 1. Users > Invite User
# 2. Enter the user's email
# 3. User receives email with account creation link
# 4. After creation, disable invitations if needed

# Logging into your vault:
# URL: https://vault.yourdomain.com
# Create account with email + strong master password
# The master password CANNOT be recovered — write it down!
Install Bitwarden Clients
Once your account is created, install official Bitwarden clients on your devices. They're all compatible with Vaultwarden:
- Chrome/Firefox/Edge extension: search 'Bitwarden' in browser store
- iOS app: App Store > Bitwarden
- Android app: Google Play > Bitwarden
- Desktop client: bitwarden.com/download (Windows, macOS, Linux)
# Configure clients to point to your server:
# In Bitwarden client settings:
# Settings > Server URL > Enter: https://vault.yourdomain.com

# After configuring the custom server,
# log in with your email and master password.

# Note: the browser extension is the most used daily.
# It auto-fills credentials on all websites.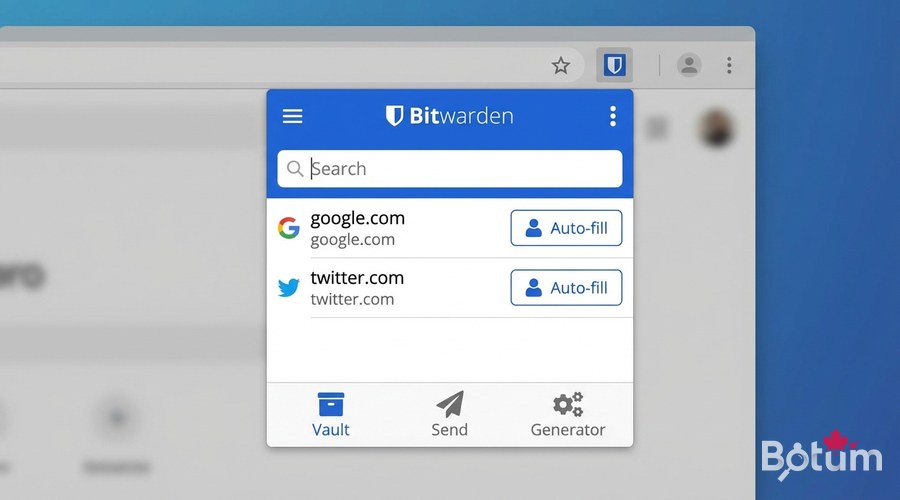
Backup Your Vault
Vaultwarden stores everything in a SQLite database in the ./data volume. Backup is simple:
# Backup complete vault (stop for consistency)
docker stop vaultwarden
cp -r ~/docker/vaultwarden/data ~/backups/vaultwarden-$(date +%Y%m%d)/
docker start vaultwarden

# Or live (minimal risk for SQLite):
sqlite3 ~/docker/vaultwarden/data/db.sqlite3 ".backup /tmp/vault-backup.db"
cp /tmp/vault-backup.db ~/backups/vault-$(date +%Y%m%d).db

# Automate with cron (see article 8):
# 0 3 * * * /usr/bin/docker stop vaultwarden && cp -r ~/docker/vaultwarden/data /backup/vault-$(date +\%Y\%m\%d) && /usr/bin/docker start vaultwarden
Enable 2FA Authentication
Two-factor authentication adds a crucial security layer. In the Vaultwarden web interface:
- Log in at vault.yourdomain.com
- Account > Two-step Login
- Enable: Authenticator App (TOTP) — compatible with Google Authenticator, Authy
- Scan the QR code with your TOTP app
- Save recovery codes in a safe place
Conclusion and Next Steps
Vaultwarden is now operational. All your passwords are securely stored on your infrastructure, synchronized across all your devices via official Bitwarden clients. In the next article, we deploy Uptime Kuma to monitor that all these services are running continuously.
Download this guide as a PDF to read offline.
⬇ Download the guide (PDF)🚀 Go Further with BOTUM
This guide covers the essentials. In production, every environment has its own specifics. BOTUM teams accompany organizations through deployment, advanced configuration, and infrastructure hardening. If you have a project, let's talk.
Discuss your project →