NAC with OPNsense and FreeRADIUS: 802.1X Network Access Control
Configure Network Access Control (NAC) with FreeRADIUS and the 802.1X protocol on OPNsense: EAP-TLS authentication, dynamic VLAN assignment, UniFi AP and managed switch configuration. Complete guide for BYOD, IoT, and Zero Trust segmentation.
On my BOTUM infrastructure, OPNsense segments the network into VLANs. But segmentation alone isn't enough — any device can connect to WiFi or plug into a network port and get an IP in the right VLAN. That's where Network Access Control (NAC) with the 802.1X protocol comes in: every device must authenticate before getting network access, and FreeRADIUS decides which VLAN it's placed in.
This article is the sixth in the OPNsense Enterprise Stack series. See also: Article 2: VLANs Zero Trust and Article 4: WiFi AP Management.
What is NAC and why 802.1X?
Network Access Control (NAC) is a network security approach that controls which devices can access your network — and which VLAN segment they are placed into. Without NAC, any device plugged into a network port or connected to WiFi gets access without identity verification.
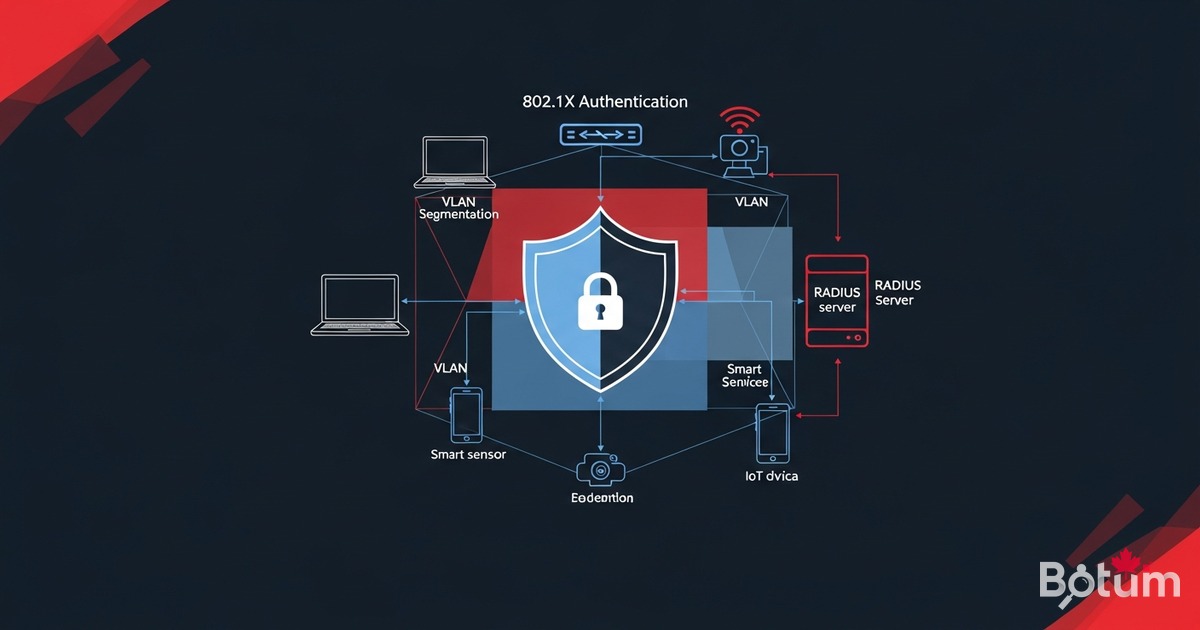
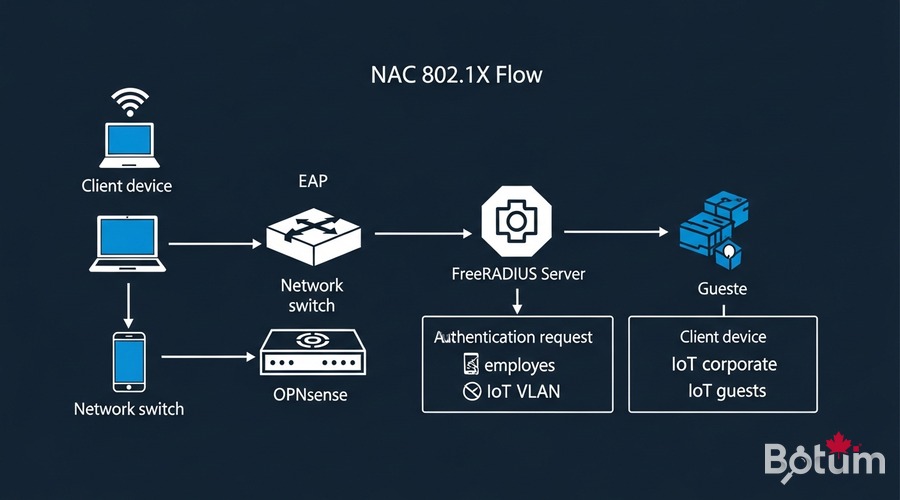
802.1X is the IEEE standard that enables Layer 2 authentication. Before a device gets an IP address, it must prove its identity through a RADIUS server. The flow involves three actors:
- Supplicant: the client device (laptop, phone, IoT) requesting access
- Authenticator: the switch or WiFi AP that relays the EAP exchange to the RADIUS server
- Authentication Server: FreeRADIUS on OPNsense, which accepts or rejects the connection
Prerequisites
- OPNsense operational — see Article 1: Install in Proxmox
- VLANs configured (Employees, IoT, Guests) — see Article 2: VLANs Zero Trust
- Compatible UniFi or Omada APs — see Article 4: WiFi AP Management
- Managed switches with 802.1X support (UniFi, TP-Link Omada, Cisco)
- SSH admin access to OPNsense
- Optional: internal Certificate Authority (CA) for EAP-TLS
Install FreeRADIUS plugin on OPNsense
OPNsense provides the os-freeradius plugin through its plugin manager. This plugin installs FreeRADIUS directly on the router, with no external server needed.
# OPNsense GUI:
# System → Firmware → Plugins
# Search: freeradius
# Install: os-freeradius (click "+")

# After installation, reload the page.
# New menu: Services → FreeRADIUS

# Enable the service:
# Services → FreeRADIUS → General
# Enable FreeRADIUS: checked
# Interface: LAN
# RADIUS Auth Port: 1812
# RADIUS Acct Port: 1813
# Click Save → Apply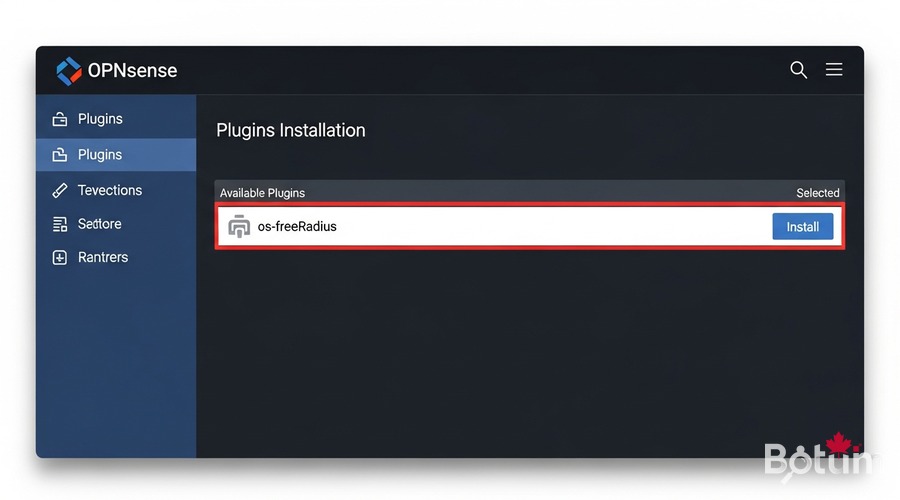
Configure FreeRADIUS: users, certificates, EAP-TLS
Create RADIUS clients (NAS)
RADIUS "clients" are the switches and APs that will send authentication requests. Each client has a shared secret.
# Services → FreeRADIUS → Clients → Add
# Name    : unifi-ap-01
# IP/CIDR : 192.168.X.X/32  (AP or switch IP)
# Secret  : [random secure string]
# NAS Type: Other

# Repeat for each managed AP and switch
Create users and assign VLANs
For PEAP-MSCHAPv2 authentication, create users in FreeRADIUS with dynamic VLAN assignment:
# Services → FreeRADIUS → Users → Add
# Username  : john.doe
# Password  : [strong password]
# VLAN ID   : 10  (Employees VLAN)

# Services → FreeRADIUS → Users → Add
# Username  : device-iot-01
# Password  : [strong password]
# VLAN ID   : 30  (IoT VLAN)

# RADIUS sends Tunnel-Private-Group-Id to the switch/AP
# Device is automatically placed in the correct VLAN
Configure EAP-TLS with certificates
EAP-TLS is the most secure method: authentication uses X.509 certificates, with no password. First configure an internal CA in OPNsense:
# 1. Create internal CA:
# System → Cert. Manager → Authorities → Add
# Name         : BOTUM-Internal-CA
# Key Type     : RSA 4096
# Digest       : SHA256
# Lifetime     : 3650 days

# 2. Create FreeRADIUS server certificate:
# System → Cert. Manager → Certificates → Add
# Name         : freeradius-server-cert
# Authority    : BOTUM-Internal-CA
# Type         : Server Certificate

# 3. Configure EAP in FreeRADIUS:
# Services → FreeRADIUS → EAP
# Certificate  : freeradius-server-cert
# CA           : BOTUM-Internal-CA
# EAP Type     : TLS + PEAP
# Inner Method : MSCHAPv2 (for PEAP without client cert)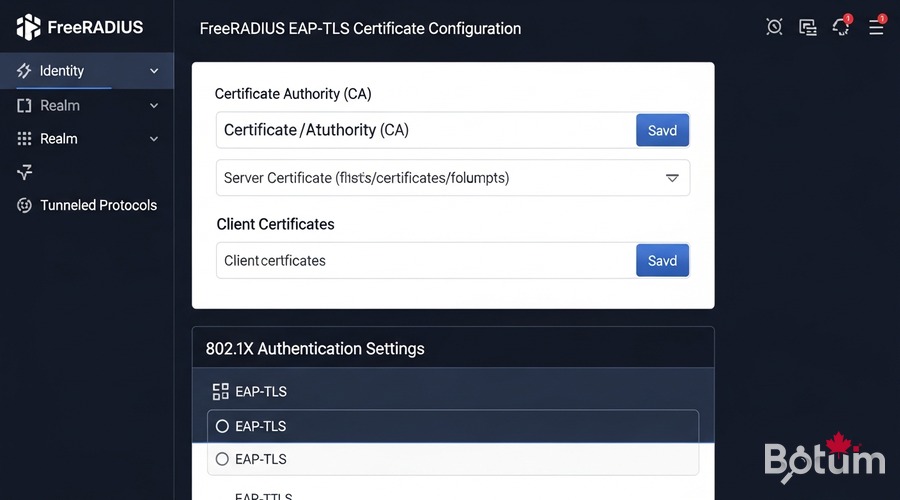
Configure UniFi/Omada APs for 802.1X
In UniFi Network Controller, configure the WiFi network to use WPA-Enterprise (802.1X) instead of WPA-Personal:
# UniFi Controller → Settings → WiFi → Add Network
# Name (SSID)    : BOTUM-Corp
# Security       : WPA Enterprise  ← (not WPA Personal)
# RADIUS Profile : Create new

# RADIUS Profile:
# Auth Server IP   : [OPNsense LAN IP, e.g. 192.168.1.1]
# Auth Server Port : 1812
# Auth Server Password : [secret configured in FreeRADIUS]

# RADIUS sends VLAN via Tunnel-Private-Group-Id
# Apply to corporate APs only (not guest WiFi)
Configure switches (trunk + access 802.1X)
On a managed switch, enable 802.1X per port for access ports:
# UniFi Switch — Port Profile with 802.1X:
# Settings → Profiles → Switch Port Profiles → Add
# 802.1X Control    : auto
# RADIUS Profile    : [RADIUS profile]
# Default VLAN      : VLAN 99 (quarantine)
# Post-auth VLAN    : Dynamically assigned by RADIUS

# Generic Cisco IOS reference:
# interface GigabitEthernet0/1
#  switchport mode access
#  switchport access vlan 99    ← quarantine VLAN by default
#  dot1x pae authenticator
#  authentication port-control auto
#  authentication order dot1x mab
#  spanning-tree portfast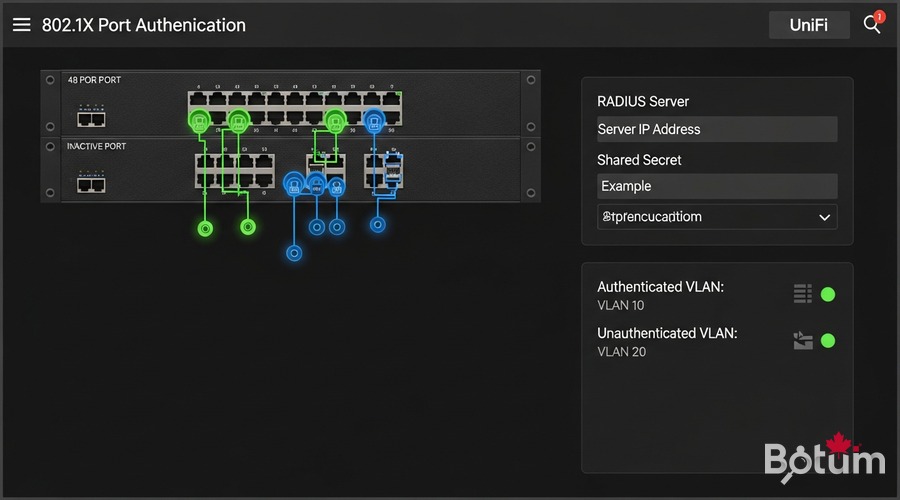
Test: successful authentication + rejection
Test with radtest (CLI)
# On OPNsense (SSH or System → Shell):
radtest john.doe [password] 127.0.0.1 0 [shared_secret]

# Expected result (successful authentication):
# Sent Access-Request Id 1 from 127.0.0.1:xxxxx to 127.0.0.1:1812
# Received Access-Accept Id 1 from 127.0.0.1:1812
# Tunnel-Private-Group-Id = "10"   ← VLAN 10 assigned!
# Session-Timeout = 28800

# Test with UNAUTHORIZED device:
radtest intruder wrongpassword 127.0.0.1 0 [shared_secret]
# Result:
# Received Access-Reject Id 2 from 127.0.0.1:1812  ✓ blocked
Verify VLAN placement
# After successful authentication, verify obtained IP:
# Employee device   → IP in 192.168.10.x  (VLAN 10 ✓)
# IoT device        → IP in 192.168.30.x  (VLAN 30 ✓)
# Unknown device    → IP in 192.168.99.x  (VLAN 99 quarantine)
#                     or completely rejected

# Real-time FreeRADIUS logs:
# Services → FreeRADIUS → Log File
# Filter Accept/Reject for full audit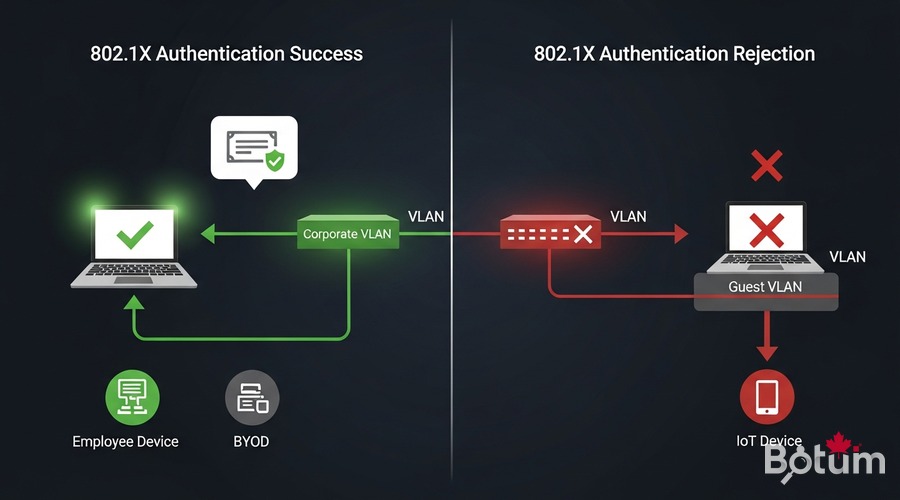
Use cases: BYOD, IoT, employees vs guests
This NAC architecture automatically manages multiple device types:
- Employees (VLAN 10): corporate laptops with EAP-TLS certificate or PEAP account → full internal network access
- BYOD — Bring Your Own Device (VLAN 20): personal devices with PEAP account → internet-only, no access to internal servers
- IoT (VLAN 30): cameras, sensors, printers via MAC Authentication Bypass (MAB) + dedicated account → isolated in their VLAN
- Guests (VLAN 99): captive portal or separate SSID without 802.1X → filtered internet access
- Unknown devices: total rejection or quarantine VLAN based on security policy
The combination of NAC + VLANs (see Article 2) + UniFi APs (see Article 4) creates a complete Zero Trust infrastructure where every device is verified before accessing the network.
Next steps → Article 7: Suricata IDS/IPS
Article 7 will cover Suricata IDS/IPS on OPNsense: real-time network intrusion detection, Emerging Threats rules, and CrowdSec integration for defense in depth. Combined with the 802.1X NAC from this article, you'll have a complete Enterprise-grade security stack.
Téléchargez ce guide en PDF pour le consulter hors ligne.
⬇ Télécharger le guide (PDF)🚀 Aller plus loin avec BOTUM
Ce guide couvre les bases. En production, chaque environnement a ses spécificités. Les équipes BOTUM accompagnent les organisations dans le déploiement, la configuration avancée et la sécurisation de leur infrastructure. Si vous avez un projet, parlons-en.
Discuter de votre projet →