Installing OpenClaw: Workspace, Skills, and First Agent in 30 Minutes
Step-by-step guide: install OpenClaw, configure the workspace, connect messaging, and activate first skills. An operational agent in 30 minutes — validated by BOTUM teams.
Thirty minutes. That's how long it takes, on a clean machine, to go from zero to an operational OpenClaw agent responding in your messaging app. This guide documents the exact path.
The previous post laid the conceptual foundations: what OpenClaw is, why self-hosted is becoming essential again, and how agent network logic transforms automation. This second installment gets concrete: step-by-step installation, workspace structure, messaging connection, and first skills activated.
Prerequisites: What You Need Before Starting
OpenClaw runs on any modern Linux machine. The configuration validated by BOTUM teams:
- OS: Ubuntu 22.04 LTS or 24.04 LTS (recommended)
- Node.js: v18 or higher (
node --versionto check) - npm: v9+ (bundled with Node.js)
- Messaging access: an account on your usual messaging platform, with the ability to create a bot or application
- LLM API key: Anthropic, OpenAI, or Google (depending on your model choice)
A VPS with 2 vCPU / 2 GB RAM is more than sufficient for a production agent. BOTUM teams run their 15-agent network on a dedicated server, but starting on a simple cloud VM is perfectly viable.
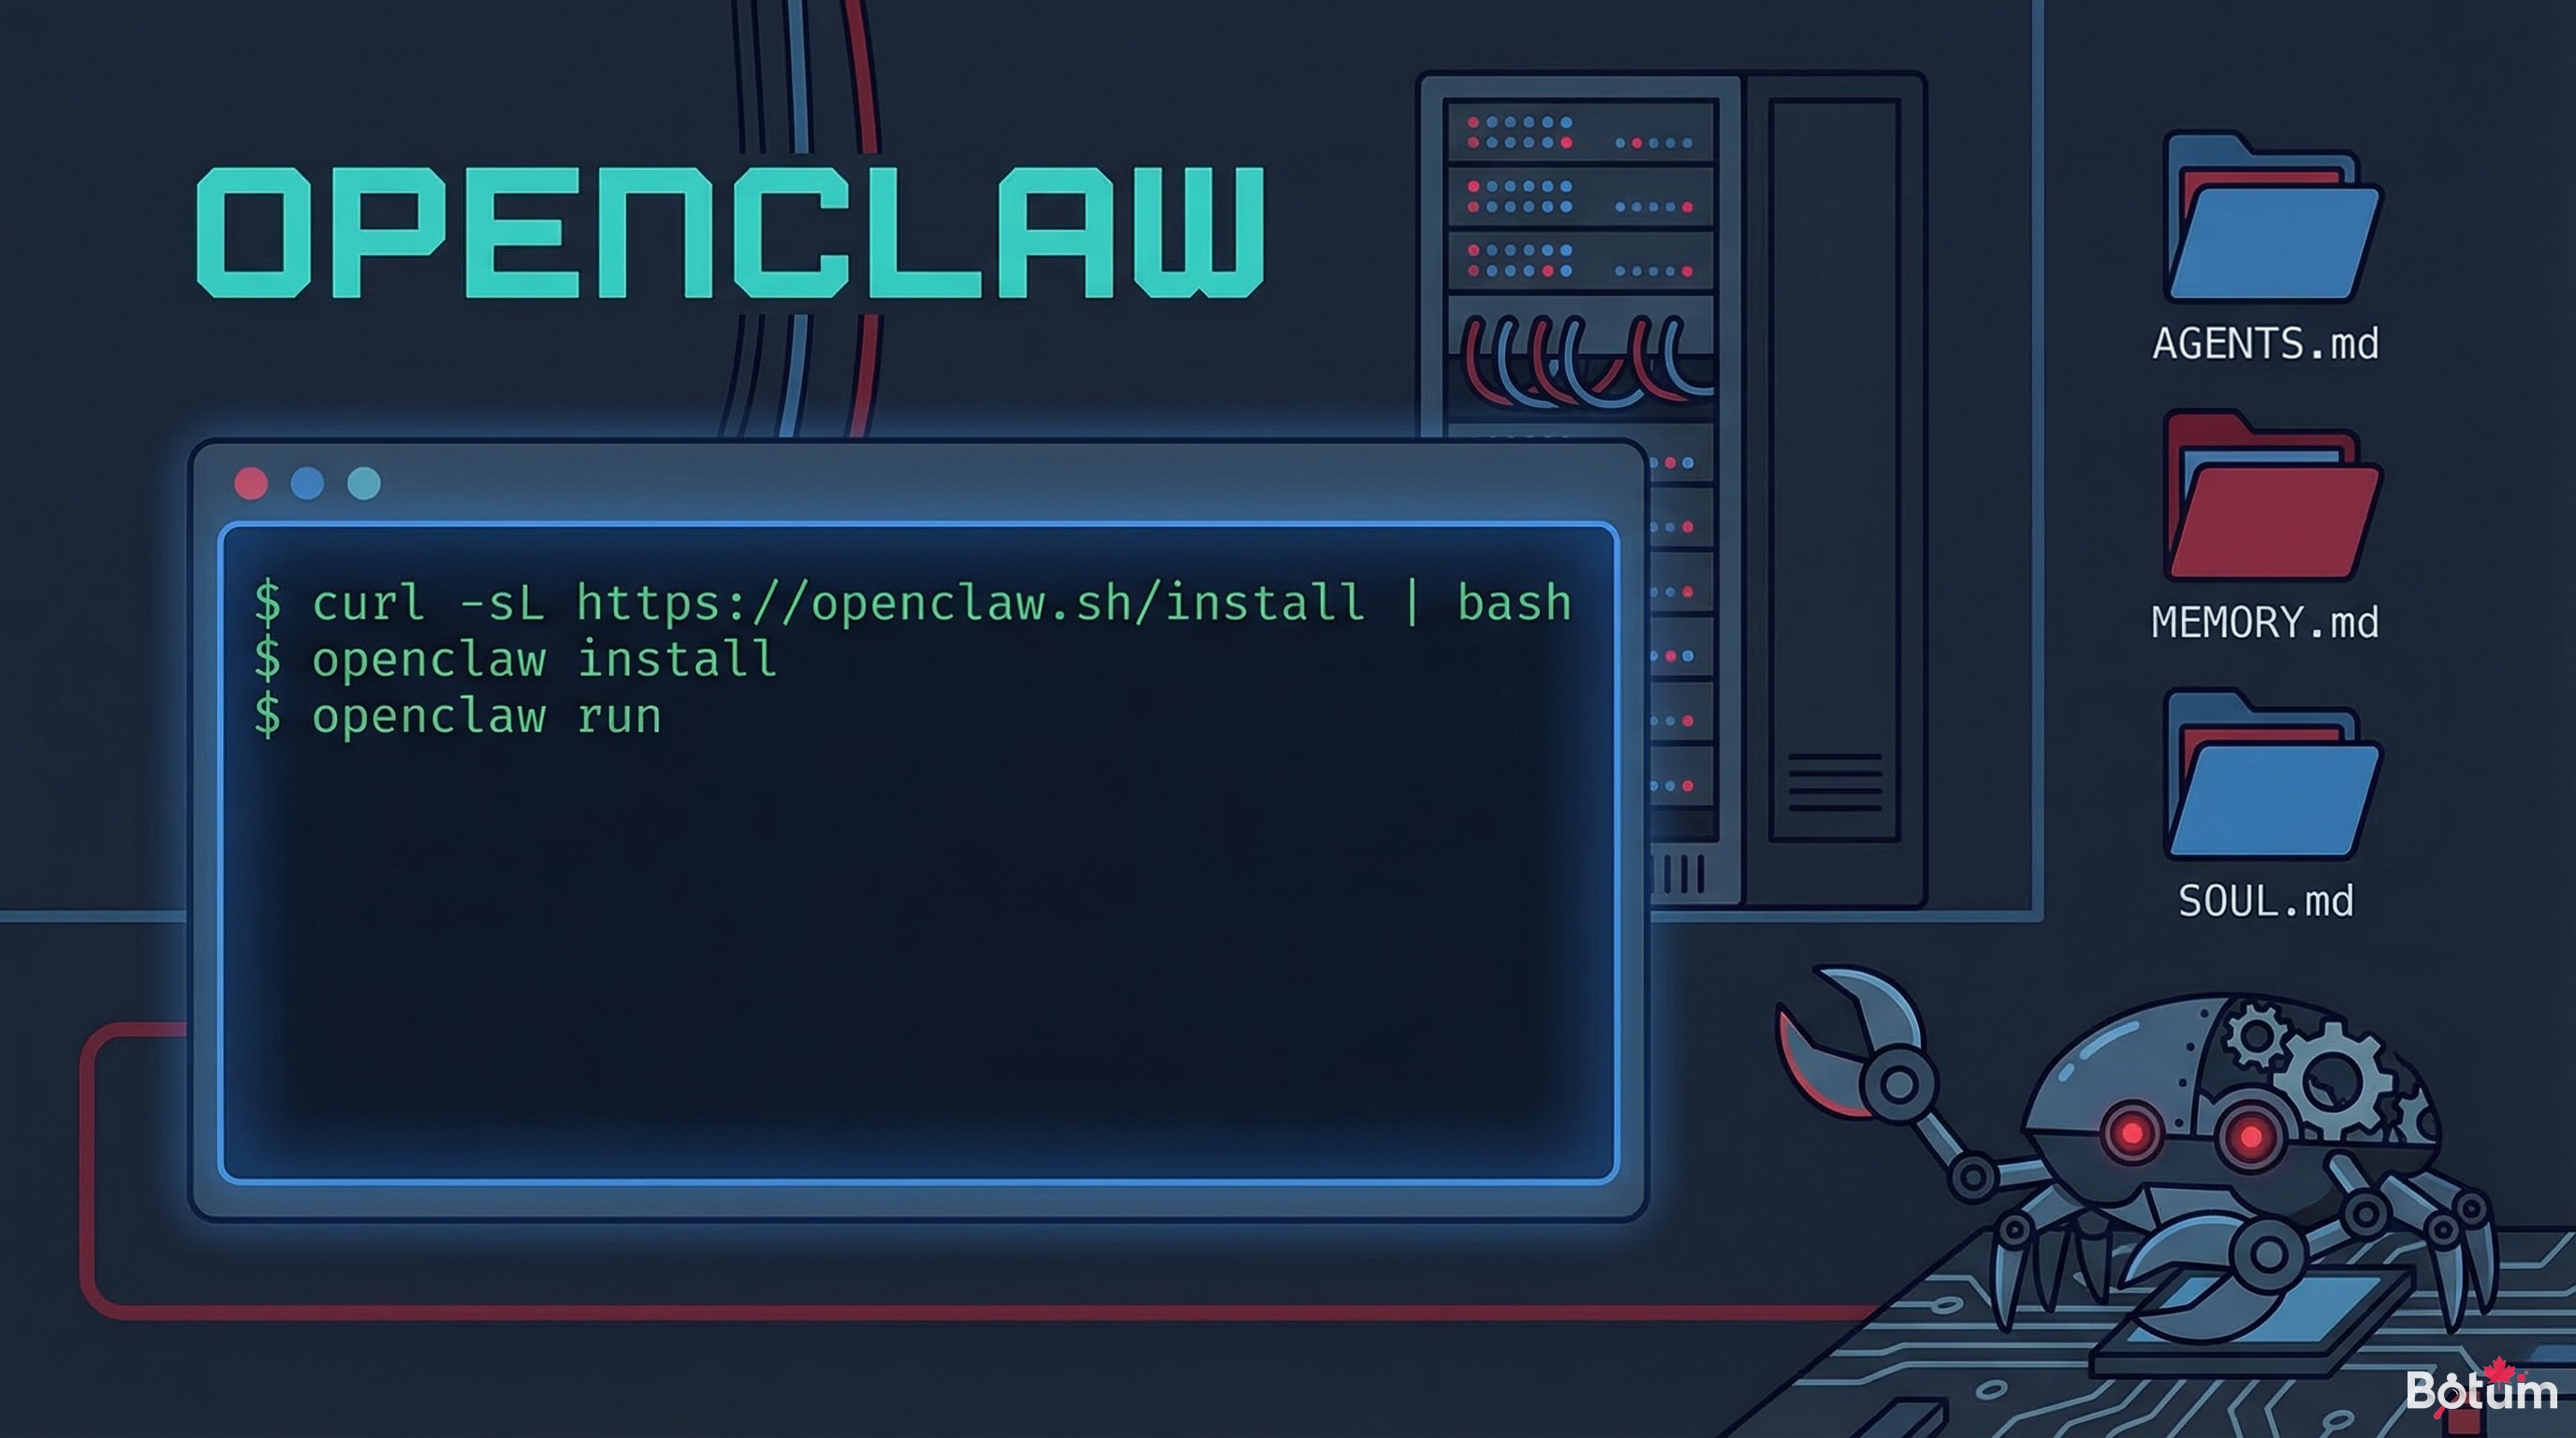
Step 1: Installation
Installation is done with a single global npm command:
npm install -g openclaw
Once installation is complete, verify the command is accessible:
openclaw --version
Then launch the initial configuration wizard. It will create your workspace, configure your LLM provider, and initialize the local Git repository:
openclaw init
The wizard asks a series of questions: which LLM to use, where to store the workspace, and some basic parameters. Allow two minutes for this step.
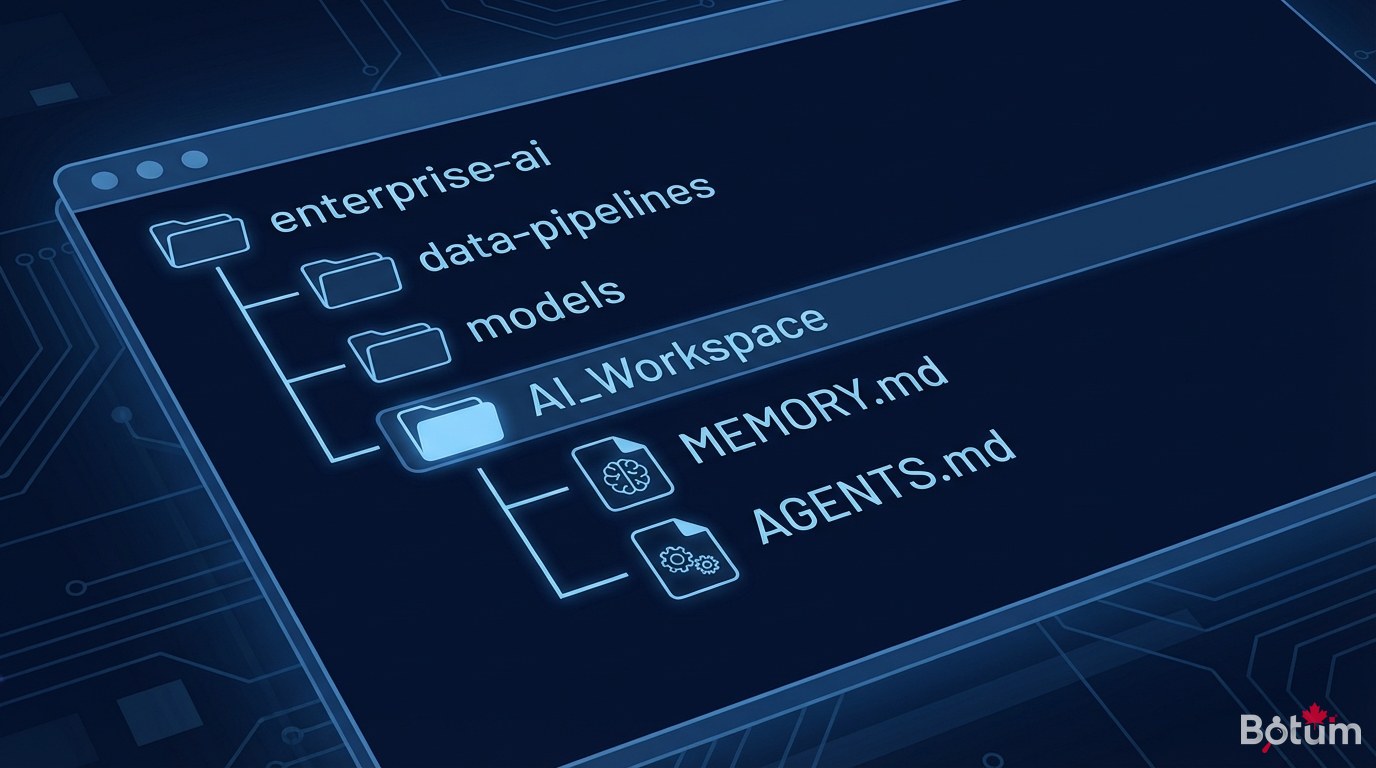
Step 2: Understanding the Workspace
The workspace is the heart of OpenClaw — it's the agent's persistent living space. By default, it's created in ~/.openclaw/workspace/. It's a Git repository: every significant action is committed, providing native and complete traceability.
The fundamental workspace files:
- AGENTS.md — The network map. Who does what, which agent is responsible for which domain, how agents coordinate. This is the reference document the agent reads first.
- SOUL.md — The agent's identity. Its tone, values, and way of responding. This file defines the personality: direct or formal, proactive or reactive, multilingual or not. Without SOUL.md, the agent responds generically. With a well-written SOUL.md, it has a recognizable voice.
- MEMORY.md — Curated long-term memory. Important information that must persist between sessions: user preferences, business rules, project context. The agent can read and write to this file.
- memory/YYYY-MM-DD.md — Raw daily logs. Everything that happened in today's session, chronologically.
The power of the system comes from this simple structure: the agent reads its files at each startup, giving it persistent context without technical overhead.
Step 3: Connecting Messaging
OpenClaw interfaces with your usual messaging platform via a channel system. Configuration is done in OpenClaw's settings file:
openclaw gateway config
The wizard asks for the messaging bot credentials (API token, login credentials depending on the platform). Once configured, start the gateway:
openclaw gateway start
The gateway is the process that listens to incoming messages and forwards them to the agent. It runs in the background. In production, BOTUM teams configure it as a systemd service so it restarts automatically on server reboot.
At this point, if you send a message to your messaging bot, the agent should respond. This is the first functional test.
Step 4: Activating First Skills
By default, OpenClaw has basic capabilities: reading and writing files, executing shell commands, web searches. Skills extend these capabilities with specialized modules.
Two useful skills from the start:
The weather skill
Simple and effective for testing that skills work. It allows the agent to answer weather questions directly in the conversation:
openclaw skills install weather
The github skill
For technical teams, this skill connects the agent to GitHub (issues, PRs, CI). Useful from the start if your workspace is already on GitHub:
openclaw skills install github
Each skill comes with a SKILL.md file documenting its commands, prerequisites, and usage examples. The agent automatically reads these files and knows how to use the skill.
BOTUM teams today have about twenty active skills across their network. The progression principle: start simple, add skills as real needs emerge — not in bulk at the outset.
First Test: The Agent in Action
With a complete installation, a three-message validation test:
- Message 1: "What time is it?" — verifies the messaging connection works
- Message 2: "List the files in your workspace" — verifies the agent can interact with the filesystem
- Message 3: "Create a test.md file with the content 'Hello, OpenClaw'" — verifies write permissions
If all three responses are coherent, the installation is functional. The agent has a workspace, a memory, and a communication channel. The foundation is in place.
One thing to note: response quality depends heavily on the content of SOUL.md and AGENTS.md. A freshly installed agent with default files responds correctly, but generically. It's by customizing these files that the agent takes its final form — and that's the work of the first hours of use.
Download this guide as a PDF for offline reading.
→ Download PDF (EN)Conclusion: The 30 Minutes Hold Up
Installation: 5 minutes. Initial configuration: 5 minutes. Messaging connection: 10 minutes. First skill: 5 minutes. Validation tests: 5 minutes. Total: 30 minutes, stopwatch in hand.
What takes time is what comes after: defining agent identities, structuring AGENTS.md for a network, configuring automations and crons. But the technical base — an agent that responds, reads files, can execute commands — installs in half an hour.
BOTUM teams spent their first weeks refining configuration files, testing each agent's scope, and building coordination protocols. That work is documented in the following posts.
→ Post 3 coming soon: Deploying an agent network — identities, roles, shared workspace, and coordination protocols.
🚀 Go Further with BOTUM
This guide covers the essentials. In production, every environment has its own specifics. BOTUM teams accompany organizations through deployment, advanced configuration, and infrastructure hardening. If you have a project, let's talk.
Discuss your project →