How to Install Ubuntu Server 24.04 LTS : Complete Beginner's Guide
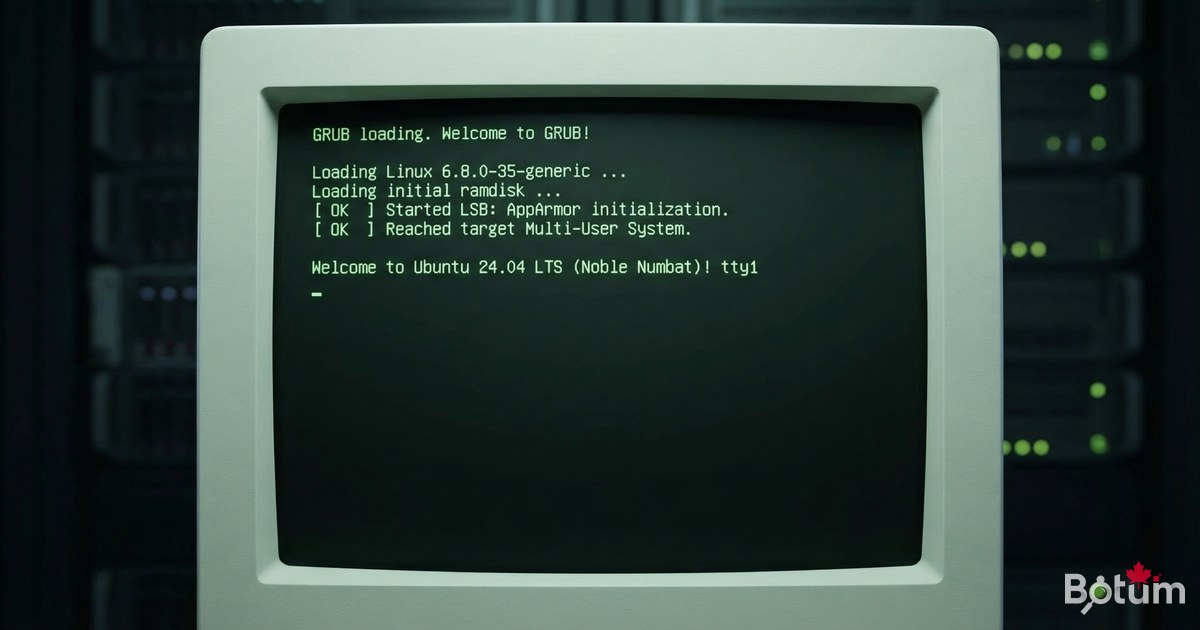
Ubuntu Server 24.04 LTS is the foundation of the infrastructure I run at BOTUM. Whether it's a Proxmox VM, a cloud VPS, or a physical server — it all starts here. In this guide, I'll take you from zero: ISO download all the way to your first secure SSH connection.
Why Ubuntu Server Instead of Ubuntu Desktop?
When it comes to self-hosted servers, your choice of distribution matters. Ubuntu Server 24.04 LTS stands out for several reasons:
- No graphical interface — lower RAM usage, smaller attack surface
- LTS (Long Term Support) — 5 years of guaranteed security updates (until 2029)
- Massive ecosystem — Docker, Kubernetes, and cloud-init tutorials are primarily written for Ubuntu
- Snap + APT — two package managers, access to thousands of tools
- cloud-init built-in — ideal for Proxmox VMs or cloud instances (Hetzner, OVH, AWS)
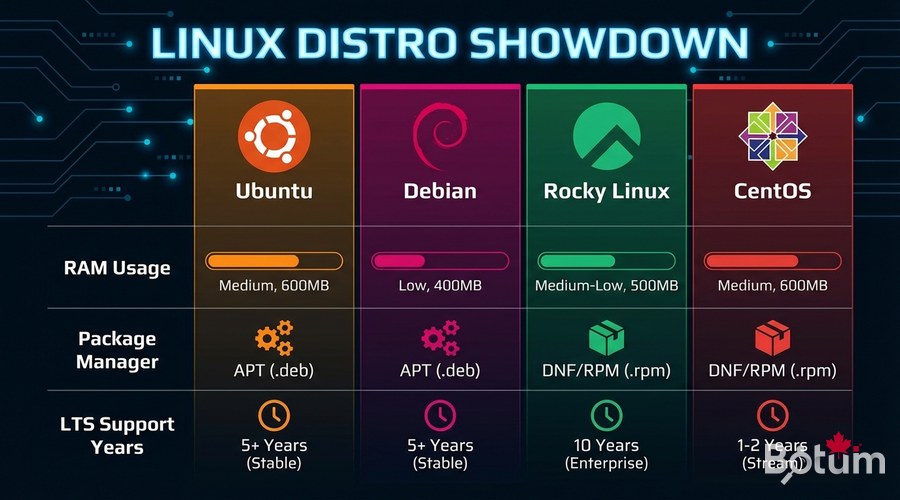
Compared to alternatives: Debian (more stable, older packages), Rocky Linux (enterprise, RPM ecosystem), Ubuntu Desktop (too heavy — GNOME alone uses ~800 MB RAM). My entire BOTUM infrastructure runs on Ubuntu Server 22.04/24.04.
Download Ubuntu Server 24.04 LTS ISO
Always download from the official source: https://ubuntu.com/download/server. Select Ubuntu Server 24.04.2 LTS (Noble Numbat) — approximately 2.7 GB.
Verify ISO Integrity (recommended)
# Verify SHA256 hash
sha256sum ubuntu-24.04.2-live-server-amd64.iso

# Compare with the official hash at:
# https://releases.ubuntu.com/24.04/SHA256SUMS
Create a Bootable USB Drive
You need a USB drive with at least 4 GB of space (8 GB recommended).
With Rufus (Windows — recommended)
- Download Rufus: https://rufus.ie
- Plug in your USB drive
- Open Rufus -> select your USB drive under "Device"
- Click "SELECT" -> choose the Ubuntu Server ISO
- Partition scheme: GPT (UEFI) or MBR (BIOS/Legacy)
- Click START -> choose "Write in ISO Image mode" -> OK
- Wait for completion (2-5 minutes)
With Balena Etcher (Windows / Mac / Linux)
- Download: https://etcher.balena.io
- "Flash from file" -> select the ISO
- "Select target" -> choose your USB drive
- Flash! -> wait for completion
⚠️ Warning: The USB drive will be completely wiped. Back up your data first.
Step-by-Step Installation
Boot your machine from the USB drive (F2/F12/DEL at startup depending on your BIOS).
Step 1 — Language and Keyboard
- Language: choose English (recommended — technical documentation is primarily in English)
- Keyboard layout: choose your layout
- Type of install: Ubuntu Server (leave as default)
Step 2 — Network Configuration
The installer automatically detects your network interface (eth0, ens18, etc.). For a static IP (recommended for servers): Edit IPv4 -> Manual -> fill in Subnet, Address, Gateway, and Name servers.
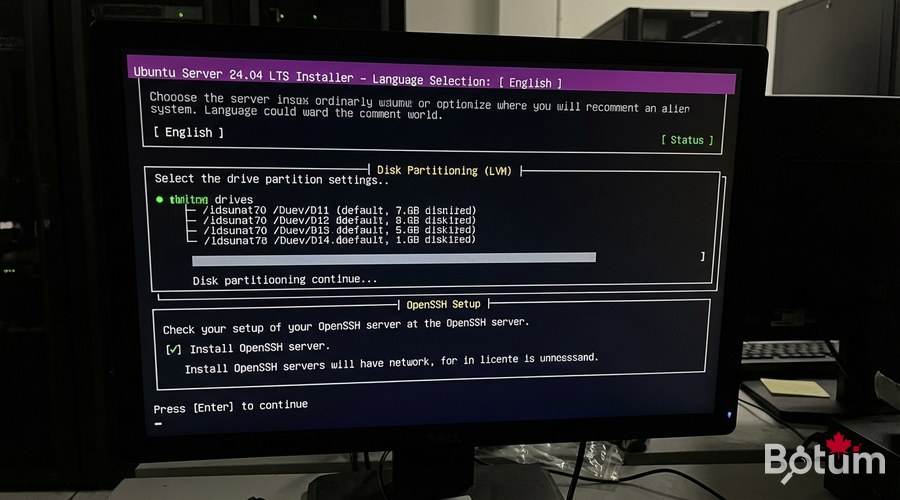
Step 3 — Disk Partitioning with LVM
Select the target disk, choose "Use an entire disk" + check "Set up this disk as an LVM group". LVM lets you easily resize partitions later.
/dev/sda (main disk)
  +-- /boot/efi    512 MB   (EFI)
  +-- /boot        1 GB     (Kernel)
  +-- ubuntu-vg    remaining space (LVM)
       +-- ubuntu-lv  100 GB  (mount /)
Step 4 — User Account
Create your admin account. Never use "root" as the username. Set a memorable hostname (e.g., ubuntu-srv-01) and a strong password (16+ characters).
Step 5 — Enable OpenSSH Server ✅
This is the most important step. Check "Install OpenSSH server" to enable remote access. You can also import your SSH keys from GitHub.
Step 6 — Additional Packages
The installer offers popular snaps (Docker, Microk8s...). Recommendation: leave everything unchecked and install manually afterward. Then: Done -> Reboot Now -> remove the USB drive when prompted.
Post-Installation Configuration
System Updates
# Update package list and install all updates
sudo apt update && sudo apt upgrade -y

# Install essential tools
sudo apt install -y curl wget git htop net-tools unzip

# Reboot if the kernel was updated
sudo reboot
Configure UFW Firewall
# Allow SSH (MANDATORY before enabling the firewall!)
sudo ufw allow ssh
sudo ufw allow 22/tcp

# Allow HTTP and HTTPS
sudo ufw allow 80/tcp
sudo ufw allow 443/tcp

# Enable the firewall
sudo ufw enable

# Verify active rules
sudo ufw status verbose
⚠️ Important: Always allow SSH BEFORE running ufw enable to avoid locking yourself out of the server.
Install fail2ban — Brute Force Protection
sudo apt install -y fail2ban
sudo cp /etc/fail2ban/jail.conf /etc/fail2ban/jail.local
sudo nano /etc/fail2ban/jail.local
Recommended settings in jail.local:
[DEFAULT]
bantime  = 3600       # 1-hour ban
findtime  = 600       # Detection window: 10 minutes
maxretry = 5          # 5 failed attempts before ban

[sshd]
enabled = true
port    = ssh
logpath = %(sshd_log)s
backend = %(sshd_backend)s
sudo systemctl enable fail2ban
sudo systemctl start fail2ban
sudo fail2ban-client status sshdCreate a Sudo User (Never Use Root)

# Create a new user
sudo adduser newuser

# Add to sudo group
sudo usermod -aG sudo newuser

# Verify groups
groups newuser

# Disable root SSH login
sudo nano /etc/ssh/sshd_config
# Change: PermitRootLogin no
sudo systemctl restart ssh
Why not use root directly? Root can do anything including catastrophic mistakes, logs are less auditable, and brute force attacks primarily target the root account. Principle of least privilege.
Secure SSH Connection
Generate an SSH Key Pair
On your LOCAL machine (not the server):
# Generate an ED25519 key (modern algorithm, recommended)
ssh-keygen -t ed25519 -C "yourname@botum-infra" -f ~/.ssh/botum_key

# Result:
# ~/.ssh/botum_key      <- PRIVATE key (never share)
# ~/.ssh/botum_key.pub  <- PUBLIC key (copy to server)
Copy the Public Key to the Server
# Recommended method
ssh-copy-id -i ~/.ssh/botum_key.pub yourname@192.168.1.100

# Test key-based connection
ssh -i ~/.ssh/botum_key yourname@192.168.1.100
Disable Password Authentication
# On the server
sudo nano /etc/ssh/sshd_config

# Change:
PasswordAuthentication no
PubkeyAuthentication yes

# Restart SSH
sudo systemctl restart ssh
Configure a Local SSH Alias
# File ~/.ssh/config on your local machine
Host botum-srv
    HostName 192.168.1.100
    User yourname
    IdentityFile ~/.ssh/botum_key
    Port 22

# Simplified connection
ssh botum-srv
Essential Commands — Quick Reference
# === System Information ===
uname -a                    # Kernel and OS info
lsb_release -a              # Ubuntu version
hostname -I                 # Server IP addresses
df -h                       # Disk usage
free -h                     # RAM used/available
htop                        # Real-time processes

# === Service Management ===
sudo systemctl status ssh
sudo systemctl restart <service>
sudo systemctl enable <service>   # Start on boot

# === Package Management ===
sudo apt update && sudo apt upgrade -y
sudo apt install <package>
sudo apt autoremove

# === Networking ===
ip addr show                  # Network interfaces + IPs
ss -tlnp                      # Open listening ports

# === Logs ===
journalctl -f                 # Live system logs
journalctl -u ssh             # Service-specific logs
sudo fail2ban-client status   # fail2ban status
What's next? Your server is up and running. Next steps: install Docker, set up Proxmox VE, or deploy an SSL reverse proxy with Zoraxy.
Download this guide as a PDF to read offline.
⬇ Download the guide (PDF)🚀 Aller plus loin avec BOTUM
Ce guide couvre les bases. En production, chaque environnement a ses spécificités. Les équipes BOTUM accompagnent les organisations dans le déploiement, la configuration avancée et la sécurisation de leur infrastructure. Si vous avez un projet, parlons-en.
Discuter de votre projet →